
Introduction
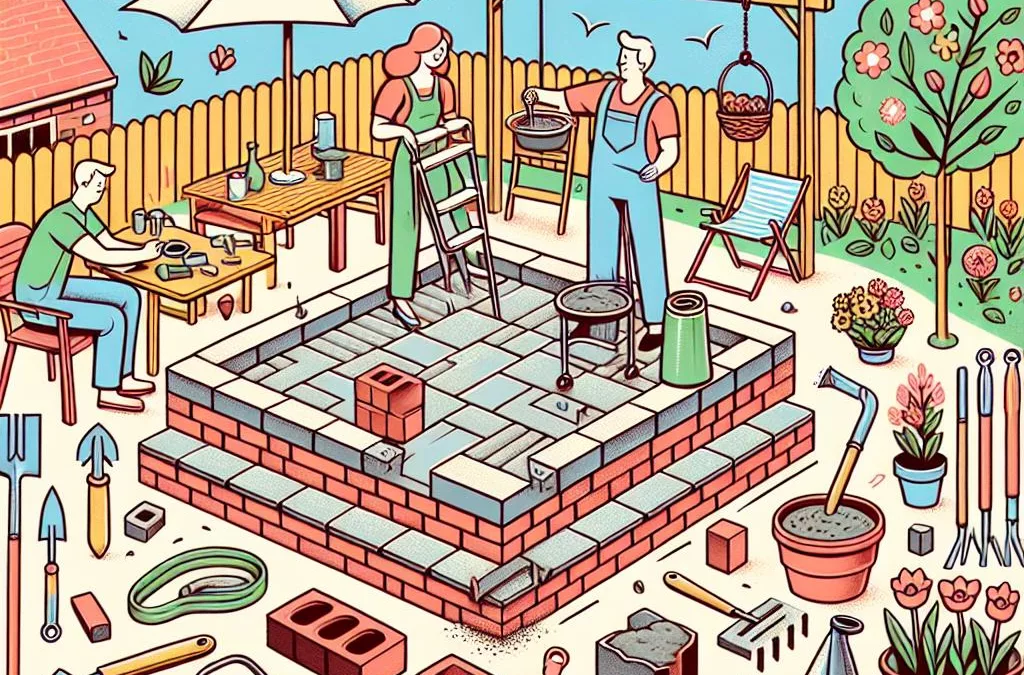
As spring approaches, many of us yearn for the perfect outdoor space to host gatherings and enjoy the fresh air. A brick patio is a timeless addition that enhances both the aesthetic and functionality of your backyard. In this comprehensive DIY guide, we’ll walk you through the process of building your own brick patio, transforming your outdoor space into an inviting haven for spring festivities.
Why Build a Brick Patio?
Brick patios offer a unique combination of beauty and durability. Their classic appeal can be customized to fit any design preference, while their robust construction provides a long-lasting solution for outdoor entertaining. From enhancing your garden’s visual appeal to offering a practical space for social gatherings, a brick patio is an investment worth making.
Materials and Tools You Will Need
Before you start, gather the following materials:
- Brick pavers
- Graded base
- Sand
- Plastic edging
Essential tools include:
- Shovels
- Plate compactor
- String lines
- Screed rails
- Rubber mallet
- Level
- Safety gloves and glasses
Step-by-Step Planning
The first stage of your DIY project is planning. Measure your intended patio area, draft a layout plan, and set a baseline to ensure precision in your work.
Preparation and Construction
Removing Old Pavers and Soil
Begin by clearing the patio area. Remove any existing pavers as well as a layer of soil approximately 7 inches deep. This preparation allows for a firm foundation.
Compacting the Ground
Utilize a gas-powered plate compactor to securely tamp down the soil, creating a stable base for your patio.
Laying the Graded Base
Distribute 2 inches of graded base across the prepared area. After leveling, use the compactor again to solidify the base.
Setting String Lines and Screed Rails
Adjust nylon lines 3 inches above the graded base around your patio’s perimeter. Position steel pipes, or screed rails, 2 inches below these lines for further leveling guidance.
Spreading and Leveling Sand
Spread sand over the entire area and use a screed to remove excess, ensuring a uniform surface.
Filling Low Spots and Final Sanding
Address any low spots by adding more sand, re-screeding until the surface is level.
Installing the Pavers
Start at one corner and set each paver individually, positioning without sliding. Stagger the joints for stability.
Installing Plastic Edging
Secure plastic edging along the patio with the lip snugly fitted beneath the pavers.
Final Tamping and Sanding
Run the plate compactor over the pavers again, and fill paver joints with sand. Continue compacting until the sand settles firmly.
Finishing Touches and Maintenance
Adding Decorative Elements
Incorporate decorative elements like vibrant garden decor, aromatic herbs, or spring flowers to enhance your patio’s charm.
Outdoor Lighting Solutions
Consider outdoor lighting for evening events. Options include solar-powered lights, string lights, and decorative lanterns.
Fire Pits and Heaters
Add warmth to your patio with a fire pit or heater. Ensure you follow safety measures for secure placement of heat sources.
Maintenance Tips
Maintain your patio by sweeping sand into joints regularly and keeping the surface clean of debris. Seasonal checks will ensure your patio remains in prime condition.
Conclusion
With a bit of planning and elbow grease, building a brick patio can be a rewarding DIY project. It not only provides a beautiful space for entertaining but significantly boosts the value of your home.
For further inspiration and guidance, check out these resources: